OpenWRT is an open-source router firmware that can be installed on a wide variety of routers and single-board computers, including the Raspberry Pi 4.
Installing OpenWRT on a Raspberry Pi 4 can turn it into a powerful travel router that can be used to create a secure and customizable wireless network on the go.
In this project, we will learn how to install and configure OpenWRT on a Raspberry Pi 4.
Part 1: Install OpenWRT on the Raspberry Pi 4
- To install and configure OpenWRT on a Raspberry Pi 4 for use as a travel router, you will need:
- Raspberry Pi 4
- MicroSD card (16GB or larger)
- Ethernet cable
- USB WiFi adapter (recommended)
- Laptop or desktop computer
- Download the OpenWRT firmware image for Raspberry Pi 4 from the OpenWRT website. The firmware image is a compressed file that contains the OpenWRT operating system and all the necessary drivers and software.
- Flash the firmware image onto the microSD card using a tool such as Balena Etcher. Etcher is a free and open-source tool that can be used to write images to SD cards and USB drives.
- Insert the microSD card into the Raspberry Pi 4 and connect the Ethernet cable from the Raspberry Pi 4 to your computer. This will allow you to connect to the Raspberry Pi 4 and configure it using a web browser on your computer.
There are several options to connect to the Raspberry Pi including using an HDMI cable or an Ethernet cable.
- Power on the Raspberry Pi 4 using the USB-C power supply. The Raspberry Pi 4 will boot up and start running the OpenWRT operating system.
The root user for OpenWRT does not have a password set by default.
- SSH into the Raspberry Pi 4 using the default OpenWRT credentials where the username is “root” and the password is blank.
- Change the default password for the root user.
passwdPart 3: Configure OpenWRT
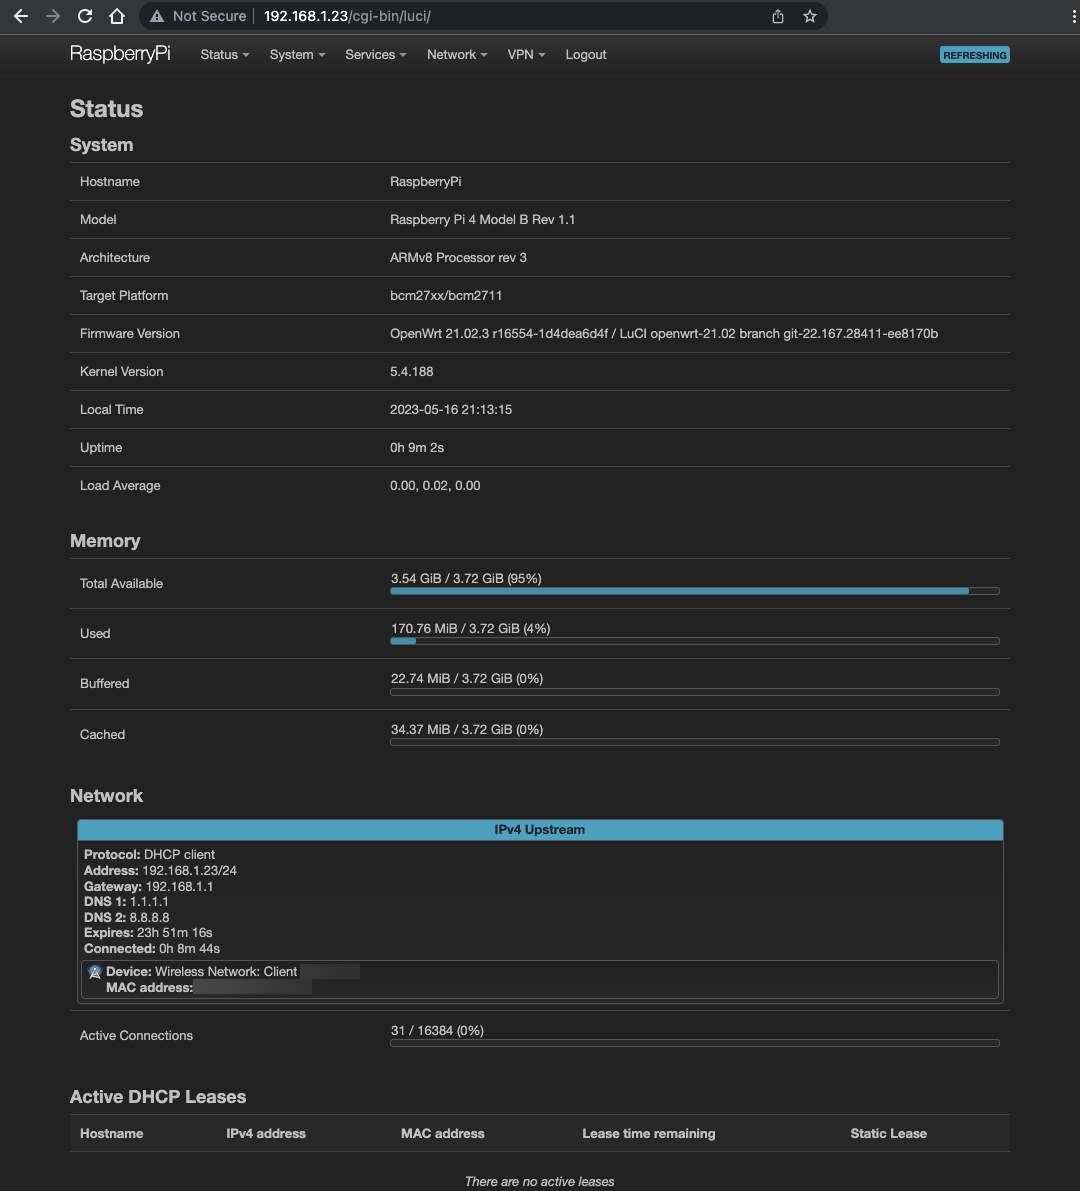
- Open a web browser on your computer and navigate to the OpenWRT web interface at
192.168.1.1. This will take you to the OpenWRT login page. - Log in to the web interface.
The default OpenWRT credentials are the same as the default SSH ones. The username is “root” and the password is blank. You will be prompted to change your password after logging in for the first time.
- Configure the network settings to match your travel destination. This may include setting the WAN interface to DHCP or static IP, and configuring the LAN interface to use a different IP address range than your travel destination. You can access these settings by clicking on the Network tab in the OpenWRT web interface.
- Configure the wireless settings to match your travel needs. This may include setting up a wireless access point, configuring wireless security, and setting up a guest network. You can access these settings by clicking on the “Wireless” and “Guest Network” tabs in the OpenWRT web interface.
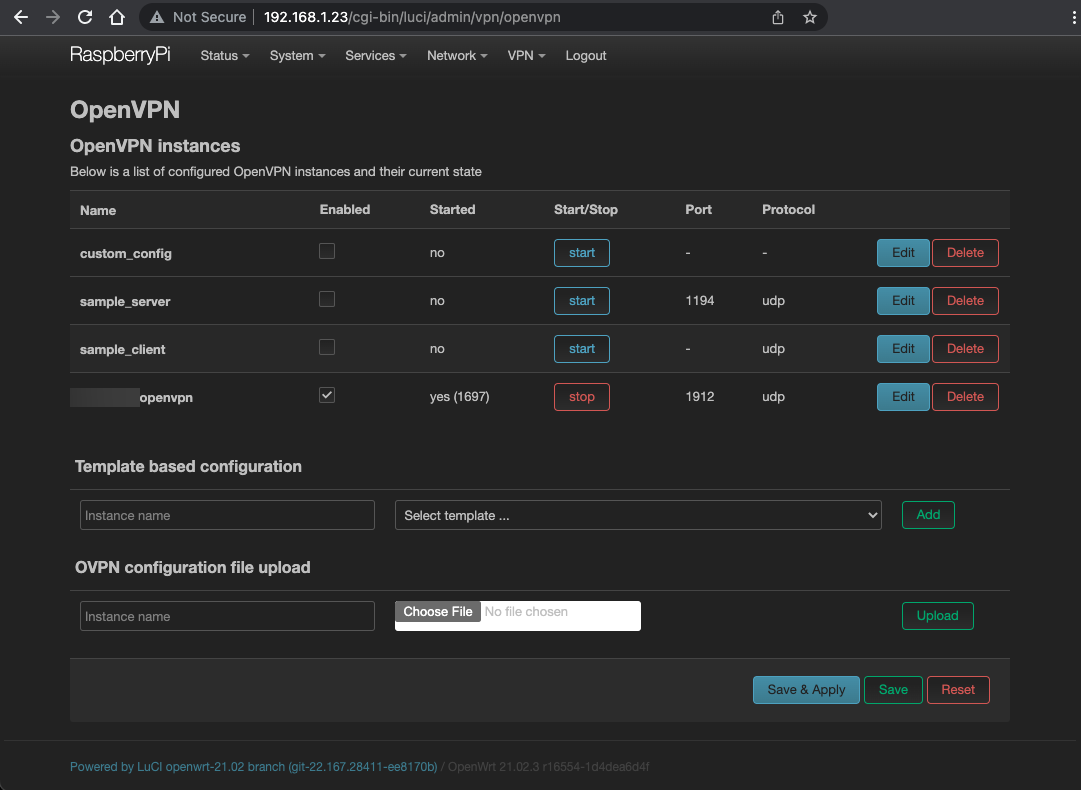
Part 4: Configure the VPN
- Check the external IP address for the router.
This will likely be the IP address that is assigned to the router by the ISP.
wget -qO - http://checkip.dyndns.org | sed -e 's/.*Current IP Address: //' -e 's/<.*$//' - Configure the VPN settings to match your travel needs. Find more information on how to configure the VPN settings in the OpenWRT documentation.
- Repeat step 12 to check that the external IP address for the router has changed to the IP address of the VPN server.
Part 5: Test the Router
- Test the router by connecting to it with a wireless device and browsing the internet. If everything is configured correctly, you should be able to connect to the router and browse the internet using the wireless network you configured.
- On the device, browse to
https://www.whatismyip.com. You should see the IP address of the VPN server you are connected to instead of your home IP address.
These steps may vary depending on your specific use case. Also, you may need to configure additional settings, such as firewall rules or port forwarding, depending on your needs.